


5 Signs Your Wine Cooling System Is About to Fail
Don’t wait for a costly surprise. Wine Guardian Dealer breaks down the top 5 signs your wine cooling system may be failing — and how to fix it before damage...
Jim Hopper
In Stock & Ready to Ship – Order Your Wine Cooling System Today!
Free Wine Cellar Expert Consultation | 📞 Call 1-800-260-1712
Start with a free expert consult—cooling system sizing, racking options, and no upsells.
Build your dream wine cellar—without costly mistakes or guesswork.
By Jim Hopper, Wine Cooling Expert
Installing a wine cooling system is crucial for maintaining the flavor, aroma, and aging process of your wine collection. Without a stable environment, fluctuations in temperature and humidity levels can negatively impact the long-term storage of your wines. If you need expert guidance on planning or upgrading your wine space, our Wine Cellar Design team is ready to help you create a cellar that’s both beautiful and functional. Proper humidity control is crucial for maintaining the integrity of the wine and preventing cork drying. For optimal storage, humidity should be maintained between 50-70%.
A through-the-wall wine cooling unit offers a space-saving, efficient, and easy-to-install solution for wine enthusiasts. Whether you have a small wine cellar or a larger cellar, these self-contained cooling systems maintain the ideal environment while venting into an adjacent space. Wall wine cellar cooling units can be installed by just about anyone. These units operate more consistently than standard air conditioning units, ensuring a stable environment for your wine.
If you're building or upgrading your wine space, explore expert advice in our full Wine Cellar Design and Installation: Build a Beautiful, Functional Wine Room That Lasts for detailed planning tips
💡 Need help choosing the right wine cooling system? Check out our Ultimate Wine Cooling Unit Buying Guide.
To install a through-the-wall wine cooling unit, cut an opening in your wall, insert the cooling system, secure it with brackets, and seal it with insulation and caulk. Be mindful of common challenges, such as ensuring the cooling units fit snugly, preventing air leaks, and providing adequate ventilation for optimal performance. Ensure proper ventilation, connect electrical wiring, and test the unit to maintain the ideal wine storage temperature. The ideal temperature for storing wine is 55 degrees Fahrenheit.

✅ Industry-Leading Performance – Maintains consistent temperature and humidity control. ✅ Energy Efficiency – Optimized to use minimal power while delivering maximum cooling. ✅ Reliable & Durable – Built with high-quality components for long-lasting performance. ✅ Made in the USA – Designed with precision and manufactured to meet the highest standards. ✅ Easy Installation – Can be installed by DIYers or professionals in just a few steps.
✔️ Measuring tape
✔️ Pencil or marker
✔️ Level
✔️ Stud finder
✔️ Drywall saw or reciprocating saw
✔️ Drill and screwdriver
✔️ Caulking gun
✔️ Utility knife
✔️ Safety goggles and gloves
✔️ Wine Guardian Through-the-Wall Cooling Unit: When installing wine cooling units, it's essential to have the right materials for optimal performance. ✔️ Mounting brackets and screws (included with the unit) ✔️ Weatherstripping or foam insulation (to seal gaps and prevent air leaks) ✔️ Vapor barrier material (to prevent moisture buildup) ✔️ Caulk and sealant ✔️ Electrical wiring (if required) ✔️ Electrical outlet and cover plate (if necessary)
💡 Avoid costly errors by reading our guide on Common Wine Cellar Mistakes & How to Fix Them.
Enhance the performance and customization of your through-the-wall wine cooling unit with a range of available accessories and add-ons. These options can help optimize your wine cellar environment and address unique storage needs:
Why Use Accessories?
Adding these accessories can help you get the most out of your through-the-wall wine cooling unit, ensuring your wine collection is preserved in ideal conditions.
For tailored recommendations or help customizing your cellar, connect with our Wine Cellar Design experts for one-on-one support.
A well-designed wine cellar deserves the perfect finishing touches. Browse our selection of wine racks and shelving options to maximize storage and enhance the look of your space. Whether you prefer classic wood, sleek metal, or custom configurations, you’ll find solutions to fit any cellar style and size.

✔️ Insulation – Ensure that your wine cellar walls are insulated with rigid foam insulation or spray foam to maintain energy efficiency.
✔️ Vapor Barrier – A vapor barrier is necessary to control humidity levels and prevent mold growth inside the wine cellar.
✔️ Calculate the Heat Load – Use a heat load calculator to determine the correct wine cellar cooling unit based on the size of your wine cellar, insulation, and climate. ✔️ Ventilation Requirements – Ensure there’s enough clearance on the warm air exhaust side of the unit. Without proper ventilation, the cold air won’t circulate efficiently. ✔️ Energy Efficiency Considerations – Choose a location where the cooling system can operate efficiently without overworking, reducing long-term energy costs. ✔️ Ductwork Insulation – Ducted systems require insulated ductwork to circulate air between the unit and the cellar. ✔️ Humidity Control – Excessive humidity in wine storage can cause mold growth on corks, ruining the wine.
💡 Ducted cooling systems or split systems might be a better choice for larger wine cellars or installations where through-the-wall units aren’t feasible. Split systems consist of separate evaporator and condenser components, allowing the condenser to be placed remotely. Explore the Best Ducted & Split Wine Cooling Systems. Ensure the system you choose meets your specific wine storage needs to maintain optimal conditions for preserving wine quality and flavor.
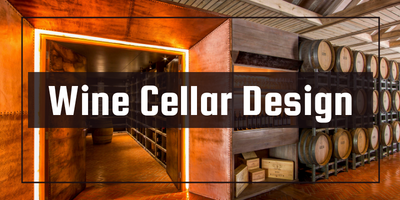
Building a wine cellar is more than just temperature control—it’s about creating a beautiful, functional space that reflects your style and showcases your collection. For personalized advice and support, visit our Wine Cellar Design page, or explore our Wine Cellar Design and Installation Guide for expert advice, layout ideas, and step-by-step planning tips to design a cellar that’s both stunning and practical.

💡 Prefer a visual guide? Before starting, watch our DIY Wine Cooling Unit Installation Video to see the full process in action.
📏 Measure & Mark – Using a measuring tape and pencil, mark the dimensions of the cooling unit on the wall.
🛠 Cut Carefully – Use a drywall saw or reciprocating saw to cut the opening, ensuring straight and clean edges.
🛠 Insert the Unit – Place the Wine Guardian Through-the-Wall Cooling Unit into the cutout, making sure it sits level . Proper installation of wine cellar cooling units is crucial for maintaining the ideal environment for aging wine.
🔩 Secure It in Place – Use mounting brackets and screws (included with the unit) to attach it securely.
🔗 Apply Weatherstripping or Foam Insulation – Prevent air leaks by sealing gaps around the unit.
🛠 Caulk the Edges – Use high-quality caulk to create an airtight seal, ensuring optimal performance.
💡 Keep your cooling unit running smoothly with our Wine Cooling System Maintenance Guide, including essential tasks like cleaning air filters, checking for air leaks, and ensuring proper ventilation..
|
Expense |
DIY Installation |
Professional Installation |
|---|---|---|
|
Cooling Unit |
$2,500 - $5,000 |
$2,500 - $5,000 |
|
Insulation & Vapor Barrier |
$100 - $300 |
$100 - $300 |
|
Electrical Setup |
$100 - $500 |
$200 - $500 |
|
Tools & Materials |
$100 - $300 |
Included in labor |
|
Installation Labor |
Free (DIY) |
$500 - $1,500 |
|
Total Estimated Cost |
$3,000 - $6,000 |
$3,500 - $7,500 |
💡 Considering a different solution? Explore our Best Ducted & Split Wine Cooling Systems.
Proper maintenance ensures your through-the-wall wine cooling unit operates efficiently and lasts for years. Here are key maintenance tasks:
For a detailed walkthrough, see our Wine Cooling System Maintenance Guide.
Our expert support team is ready to help before, during, and after your purchase. If you have questions about installation, troubleshooting, or maintenance, you can:
We’re committed to ensuring your wine is always protected and your cooling unit performs at its best.
A Wine Guardian Through-the-Wall Cooling Unit provides an easy, efficient, and reliable solution for wine preservation . Whether you install it yourself or hire a professional, this guide ensures a smooth installation process. Wine storage experts are available for free consultation to help you select the ideal cooling unit for your needs.
🔹 🛒 Find the Best Wine Cooling Unit for Your Cellar – Shop Now! 🔥 Limited-time offers available! Get free shipping and expert consultation on select models. 🔹 Shop Wine Guardian’s top-rated cooling systems today and get expert support for the perfect wine storage environment.
Book a free consultation to discuss your project, get tailored recommendations, and ensure your cellar is as beautiful as it is functional. Contact our wine cellar design experts to get started.

It’s a self-contained unit installed through an exterior wall to cool a wine cellar and vent warm air outside or into another room.
Yes — through-the-wall units are DIY-friendly and come with mounting hardware, though proper sealing and ventilation are essential.
DIY installs cost around $3,000–$6,000 total; professional installs may reach $7,500, depending on labor and electrical work.
They offer precise temperature control, energy efficiency, quiet operation, and easy setup — all built in the USA.
Don’t wait for a costly surprise. Wine Guardian Dealer breaks down the top 5 signs your wine cooling system may be failing — and how to fix it before damage...
Jim Hopper
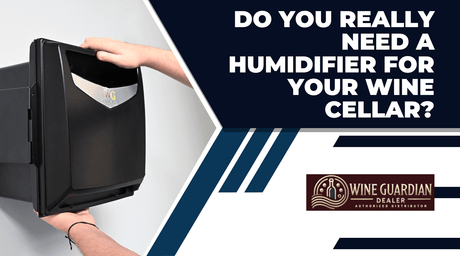
Not every wine cellar needs a humidifier — but many should. This guide from Wine Guardian Dealer helps you understand when humidity control is critical, what goes wrong without it,...
Jim Hopper

Building a wine cellar isn’t like framing a spare room. Even experienced pros make critical mistakes that lead to spoiled wine, mold, or failed systems. In this guide from Wine...
Jim Hopper

Curious what it's like to hire a wine cooling expert? Discover how Wine Guardian Dealer helps collectors avoid costly mistakes and create flawless wine cellar environments. From system sizing to...
Jim Hopper

Protect your wine collection and your wallet. Discover the most common wine cellar cooling mistakes that cost collectors thousands — from underpowered systems to airflow issues — and learn how...
Jim Hopper
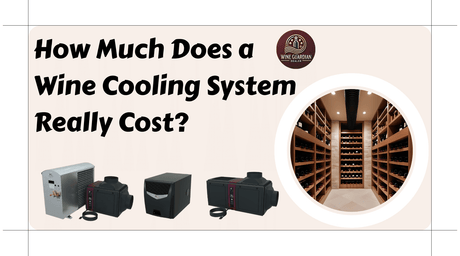
Wine cooling systems can cost anywhere from $1,800 to $13,000+. This guide breaks down unit costs, install factors, and hidden expenses you should plan for.
Jim Hopper
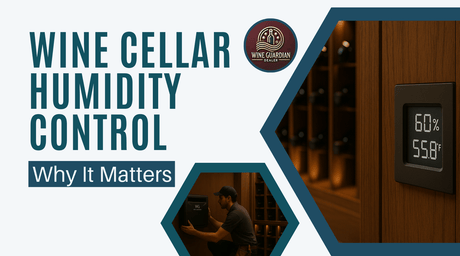
Humidity is just as vital as temperature in your wine cellar. Learn how to protect corks, prevent spoilage, and maintain the perfect balance year-round.
Jim Hopper
Learn how to cool modern glass wine cellars with precision. We break down thermal load, best systems, and real-world solutions from Wine Guardian Dealer.
Jim Hopper
🛒Shop our most-loved Wine Guardian cooling systems today.
🛠️Protect your wine with the most trusted systems on the market.
❤️Tested, reviewed, and loved by serious collectors like you.


Wine Guardian
Wine Guardian D025 Ducted Wine Cellar Cooling Unit


Wine Guardian
Wine Guardian D025WC Water Cooled Wine Cooling Unit


Wine Guardian
Wine Guardian DS025 Duct Split Wine Cellar Cooling Unit


Wine Guardian
Wine Guardian DS050 Duct Split System Wine Cellar Cooling Unit


Wine Guardian
Wine Guardian CS025 Ceiling Mount Wine Cooling Unit


Wine Guardian
Wine Guardian CS050 Ceiling Mount Wine Cooling System


Wine Guardian
Wine Guardian TTW009 Through The Wall Wine Cellar Cooling Unit


Wine Guardian
Wine Guardian TTW018 Through-The-Wall Wine Cellar Cooling Unit

Wine Guardian
Wine Guardian Sentinel Series Integrated Humidifier 99H0173-20

Wine Guardian
Wine Guardian Integrated Humidifier for Sentinel Series 99H0173-30

Wine Guardian
Wine Guardian Freestanding Humidifier For Use With Wine Guardian Units


