


5 Signs Your Wine Cooling System Is About to Fail
Don’t wait for a costly surprise. Wine Guardian Dealer breaks down the top 5 signs your wine cooling system may be failing — and how to fix it before damage...
Jim Hopper
In Stock & Ready to Ship – Order Your Wine Cooling System Today!
Free Wine Cellar Expert Consultation | 📞 Call 1-800-260-1712
Start with a FREE expert consultation on Wine Guardian cooling system sizing, racking options, and the right setup for your space.

Build your dream wine cellar—without costly mistakes or guesswork.
Wine cellars require meticulous attention to detail to ensure optimal conditions for wine storage. Proper insulation is crucial not only for maintaining the right temperature and humidity but also for protecting cellar walls and exterior walls from moisture and temperature fluctuations. This involves using the right materials and techniques to create an environment that preserves the quality and longevity of the wine.

By Jim Hopper, Wine Cooling Expert
Insulation might not be the most glamorous part of building a wine cellar—but it’s absolutely one of the most important.
Without proper insulation, even the best wine cooling system will struggle to do its job. You’ll end up wasting energy, battling humidity, and putting your collection at risk. Whether you’re building a wine cellar in the basement, attic, or even under the stairs, insulation is what keeps the climate stable and your wine aging beautifully. Wine cellars must remain dry and airtight to protect wine bottles.
In this guide, we’ll walk you through:
Want to make sure your insulation plan supports long-term performance? Explore our full Wine Cellar Design and Installation: Build a Beautiful, Functional Wine Room That Lasts for expert guidance on building a cellar that works from the inside out.
Let’s build it right from the inside out. 🧱🍷
Wine needs a steady climate to age properly—typically around 55°F with 60–70% humidity. But most rooms in your house weren’t built for that. Effective insulation, such as closed-cell spray foam, can help maintain low temperatures by sealing off pathways through which warm air could enter the cellar, ultimately affecting temperature and humidity control.
Without insulation, your cellar will:
A wine cooling unit plays a crucial role in maintaining optimal storage conditions by ensuring consistent temperature and humidity levels, complementing the effectiveness of good insulation.
Good insulation helps maintain:
📘 Related: Why Temperature Control Is Critical for Wine Storage
Not all insulation is created equal—especially when it comes to wine cellars. Here are the top options:
Closed-cell foam is widely regarded as the best overall insulation and vapor barrier solution for wine cellars. This type of insulation not only seals air and moisture effectively but also adds a vapor barrier automatically, making it an excellent choice for maintaining the ideal conditions within your wine storage area. One of its standout features is its high R-value in a compact space, which ensures superior thermal resistance without occupying much room. Although it may be more expensive compared to other options, its benefits make it worth the investment, especially for wine cellars located in basements or attics where temperature and humidity control are crucial. Additionally, polyurethane spray foam creates its own vapor barrier, eliminating the need for additional plastic sheeting.
Pro Tip: Always use closed-cell—not open-cell—for wine cellars to ensure maximum efficiency and protection.
Rigid foam board insulation is a popular choice among DIY enthusiasts due to its ease of installation. It’s particularly effective for flat wall framing and is commonly used in basement or spare room conversions. While it requires a separate plastic vapor barrier to be fully effective, its versatility and cost-effectiveness make it a great option for those looking to undertake their own wine cellar insulation project. Popular choices for rigid foam board include Polyiso, EPS, or XPS foam board, each offering unique benefits in terms of insulation performance and ease of handling. All walls, ceilings, and floors must be wrapped in plastic sheeting to create a truly effective vapor barrier when using insulation batts.
Mineral wool or fiberglass batt insulation is a budget-friendly option that is readily available in most home improvement stores. While it needs a vapor barrier and precise installation to perform effectively, it can be a viable choice for those looking to insulate their wine cellar economically. However, it's important to note that these materials can absorb moisture if not sealed correctly, which could compromise their insulating properties. Therefore, careful attention to installation and sealing is crucial when using mineral wool or fiberglass batt in wine cellars. Improper installation of insulation can lead to moisture issues, reducing efficiency by up to 25%.
Pricing depends on the size of your space, the insulation material, and whether you hire a pro. For wine cellars, insulation must have a minimum R-13 value.
|
Insulation Type |
DIY Cost per Sq. Ft. |
Pro Installed per Sq. Ft. |
|---|---|---|
|
Closed-Cell Spray Foam |
$1.00 – $2.50 |
$2.50 – $4.00 |
|
Foam Board Panels |
$0.75 – $1.50 |
$2.00 – $3.50 |
|
Fiberglass or Mineral Wool |
$0.50 – $1.00 |
$1.50 – $2.50 |
Total project cost for a typical 300-bottle cellar: $500–$3,000 depending on material and labor. R-19 is usually recommended for walls made to fit in a 2x6 wall and for ceilings.
📘 Related: How to Build a Basement Wine Cellar
If you're handy and want to save on labor, here’s a simple breakdown of how to insulate your wine cellar yourself:
Seal all gaps with caulk or spray foam (especially around windows and outlets). This initial step is crucial as any unsealed gaps can lead to air leaks, undermining the efficiency of your insulation. Pay close attention to areas around electrical outlets, windows, and any other potential points for air infiltration. Additionally, ensure that all gaps around pipes and wiring that penetrate the cellar wall are properly sealed to prevent vapor intrusion.
Install insulation between wall studs and ceiling joists. Choose the right insulation material based on your specific needs and budget. Closed-cell spray foam is ideal for its high R-value and self-sealing properties, while rigid foam boards offer ease of installation for DIY enthusiasts. Ensure that the insulation fits snugly to avoid any gaps that could lead to thermal bridging.
Tape seams tightly to prevent air leaks. Use high-quality tape designed for insulation purposes to seal all seams between insulation panels. This step is essential to maintain the integrity of your insulation barrier and prevent any unwanted air exchange.
Add vapor barrier over the insulation (on the warm side). The vapor barrier is a critical component in preventing moisture from penetrating the insulation, which can lead to mold growth and reduced insulation effectiveness. Use a 6-mil plastic sheeting to cover the entire interior surface, ensuring it overlaps at the seams.
Secure drywall or finish layer over the barrier. Once the vapor barrier is in place, it’s time to install the drywall or your chosen finish layer. This not only provides a clean, finished look but also adds an additional layer of protection for your insulation.
Test for air leaks and check with a hygrometer after the cooling system is installed. After completing the installation, it’s important to test for any air leaks using a smoke pencil or thermal imaging camera. Additionally, monitor the humidity levels with a hygrometer to ensure they remain within the ideal range for wine storage. The vapor barrier should always be installed on the warm side of the insulation in wine cellars to maximize its effectiveness in maintaining consistent temperature and humidity levels.
⚠️ Need help? Our team is happy to talk through insulation strategies during your consultation.
Even the best insulation needs a matching cooling system to keep conditions just right. Concrete walls and floors in a wine cellar typically require additional insulation due to their low R-values.
Proper insulation and the use of vapor barriers in a wine room are crucial to maintaining optimal conditions for wine storage. Without these measures, issues such as condensation, mold, and inefficiencies in cooling systems can arise, impacting the integrity of the wine cellar and the quality of the wine stored within.
Check out our top picks for climate control:


“We used spray foam in our attic wine cellar and paired it with a ducted Wine Guardian system. It's silent, efficient, and we don’t have to worry about humidity swings anymore.”
— Maya T., Sonoma, CA
“I went the DIY route with foam board and it worked great. Wine Guardian's team helped me size the cooling unit and humidity hasn’t been a problem since.”
— Jake H., Charleston, SC
Insulation isn’t optional—it’s the foundation of a great wine cellar.
We’re here to help you choose the best materials and cooling system for your space.
👉 Shop Wine Guardian Cooling & Humidification Systems
Explore cooling systems designed for precision and protection.
📞 Call 1 (800) 260-1712 for a FREE consultation
Our experts will guide you through insulation strategies, system sizing, and more.

Not ideal. Many common products absorb moisture or don’t provide enough climate control.
Yes! Insulation supports cooling—it doesn’t replace it.
Absolutely. It protects your insulation and keeps humidity stable.
Yes—but the smaller the space, the more precision you need. We can help recommend materials and cooling options.
Check for stable humidity (60–70%) and temperature (around 55°F). If either fluctuates, you may have gaps or leaks.
Don’t wait for a costly surprise. Wine Guardian Dealer breaks down the top 5 signs your wine cooling system may be failing — and how to fix it before damage...
Jim Hopper
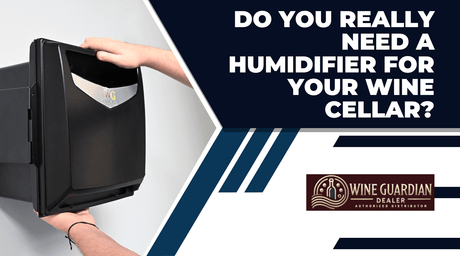
Not every wine cellar needs a humidifier — but many should. This guide from Wine Guardian Dealer helps you understand when humidity control is critical, what goes wrong without it,...
Jim Hopper

Building a wine cellar isn’t like framing a spare room. Even experienced pros make critical mistakes that lead to spoiled wine, mold, or failed systems. In this guide from Wine...
Jim Hopper

Curious what it's like to hire a wine cooling expert? Discover how Wine Guardian Dealer helps collectors avoid costly mistakes and create flawless wine cellar environments. From system sizing to...
Jim Hopper
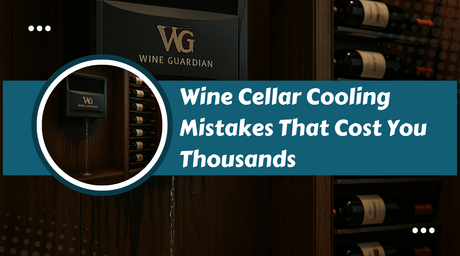
Protect your wine collection and your wallet. Discover the most common wine cellar cooling mistakes that cost collectors thousands — from underpowered systems to airflow issues — and learn how...
Jim Hopper
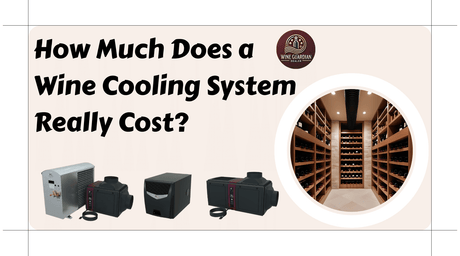
Wine cooling systems can cost anywhere from $1,800 to $13,000+. This guide breaks down unit costs, install factors, and hidden expenses you should plan for.
Jim Hopper
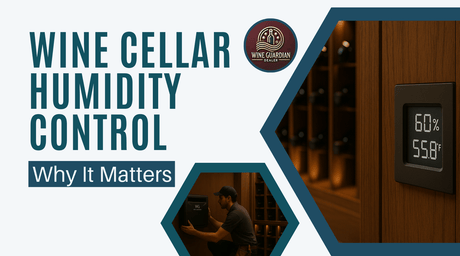
Humidity is just as vital as temperature in your wine cellar. Learn how to protect corks, prevent spoilage, and maintain the perfect balance year-round.
Jim Hopper
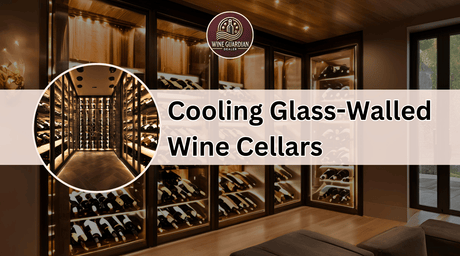
Learn how to cool modern glass wine cellars with precision. We break down thermal load, best systems, and real-world solutions from Wine Guardian Dealer.
Jim Hopper
🛒Shop our most-loved Wine Guardian cooling systems today.
🛠️Protect your wine with the most trusted systems on the market.
❤️Tested, reviewed, and loved by serious collectors like you.


Wine Guardian
Wine Guardian D025 Ducted Wine Cellar Cooling Unit


Wine Guardian
Wine Guardian D025WC Water Cooled Wine Cooling Unit


Wine Guardian
Wine Guardian DS025 Duct Split Wine Cellar Cooling Unit


Wine Guardian
Wine Guardian DS050 Duct Split System Wine Cellar Cooling Unit


Wine Guardian
Wine Guardian CS025 Ceiling Mount Wine Cooling Unit


Wine Guardian
Wine Guardian CS050 Ceiling Mount Wine Cooling System


Wine Guardian
Wine Guardian TTW009 Through The Wall Wine Cellar Cooling Unit


Wine Guardian
Wine Guardian TTW018 Through-The-Wall Wine Cellar Cooling Unit

Wine Guardian
Wine Guardian Sentinel Series Integrated Humidifier 99H0173-20

Wine Guardian
Wine Guardian Integrated Humidifier for Sentinel Series 99H0173-30

Wine Guardian
Wine Guardian Freestanding Humidifier For Use With Wine Guardian Units


Wine Guardian
Wine Guardian TTW04B Defender Through-The-Wall Wine Cellar Cooling Unit


Wine Guardian
Wine Guardian TTW02B Defender Through-The-Wall Wine Cellar Cooling Unit


Wine Guardian
Wine Guardian TTW01B Defender Through-The-Wall Wine Cellar Cooling Unit